| Calendar |
< May, 2024 >
| S |
M |
T |
W |
T |
F |
S |
| 28 |
29 |
30 |
01 |
02 |
03 |
04 |
| 05 |
06 |
07 |
08 |
09 |
10 |
11 |
| 12 |
13 |
14 |
15 |
16 |
17 |
18 |
| 19 |
20 |
21 |
22 |
23 |
24 |
25 |
| 26 |
27 |
28 |
29 |
30 |
31 |
01 |
|
|
| Baby's First Toy Car |
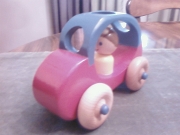
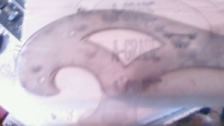
While searching for interesting toys for our newborn baby boy I spied a wooden toy car. The ad boasted that the car was just the right size for an infant. This ad inspired me to design a similar toy for my son. The original had a single opening in the roof that I suppose represented a sunroof. I decided my son’s needed a windshield and a rear window in addition to the sunroof. So, I grabbed a scrap piece of 2x4 from the barn and my french curve from my workbench. I first laid out what could be considered a crude interpretation of an old VW bug.
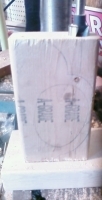
Next, I located points in the front, back and top where I would use a 3/4†Forstner bit to drill holes for the windshield, rear window and sunroof. I then placed the block of wood on my drill press and began to drill out the holes with the Forstner bit. It is best perform this step before cutting the curves because the wood is still square making it easier to hold under the drill press. Make sure you drill the holes deep enough so that they penetrate the areas that will become the passenger compartment which will be cut out later. The hole for the sunroof is also the same hole used to attach the driver during final assembly so this hole needs to pass almost all the way through the car. I also located and drilled the holes for the front and rear axles at this time.
I then proceeded to the band saw where I began to cut out the body of the car. I chose the band saw since it is easier to maintain a straight cut in such thick stock. My scroll saw tends to cut at a slight angle in anything thicker than 3/4â€. Unfortunately, you can not make interior cuts with a band saw. No problem since I always intended to paint the toy I decided I would make a cut at the roof line to gain access to the interior. Once the interior was removed, I glued the roof back on. The line left from the process would be a point where the body color would end and the roof color would begin. If everything goes well, no one would be able to tell where the cut was made.
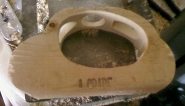
The next step was to make the driver. I took a long piece of 1†dowel rod and drilled a 1/4†hole in the center. Next I took some 80 grit sandpaper in my finish sander and rounded the end with the 1/4†hole so that it would look like the shoulders of a person. Next, I cut the dowel rod to roughly 1 1/2†long. Then I took a 1†wooden ball and drilled a 1/4†hole in the center of it. Finally, I glued the head to the body using a 1/4†dowel rod roughly 1/2†long. I painted the driver's body yellow, his head off white with brown hair and a few black dots to indicate his eyes, nose and mouth.
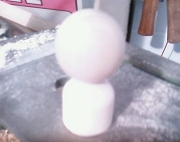
At this point I needed to enlarge the driver's seat for the person to fit properly. So, I placed a 1 inch Forstner bit up through the interior and through the sunroof into my drill press. Using the bit I enlarged the lower part of the hole originally drilled for the sunroof. The enlarged hole will now accept the driver constructed in the previous step. I also began to cover some of the imperfections with putty since this toy will be painted.
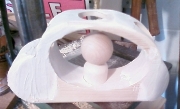
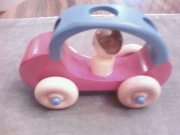
I've been told that brightly colored objects are especially interesting to babies, which is why I intended to paint the toy. I first sprayed a coat of shellac over all the parts. Shellac is non-toxic and seals the wood. Sealing the wood is important when using pine as it will stop any sap from bleeding through your finished toy. After roughly an hour drying time I began painting the car with non-toxic paints. I painted the body red and the roof blue. The hubs on the axles were also painted blue but I left the wheels natural.
Created on 06/20/2008 01:58 PM by admin
Updated on 11/14/2008 11:10 PM by admin
|

|
|
|
